


Full Leg and Foot Splint for Chicken or Duck
Full Leg and Foot Splint for Chicken or Duck
Couldn't load pickup availability
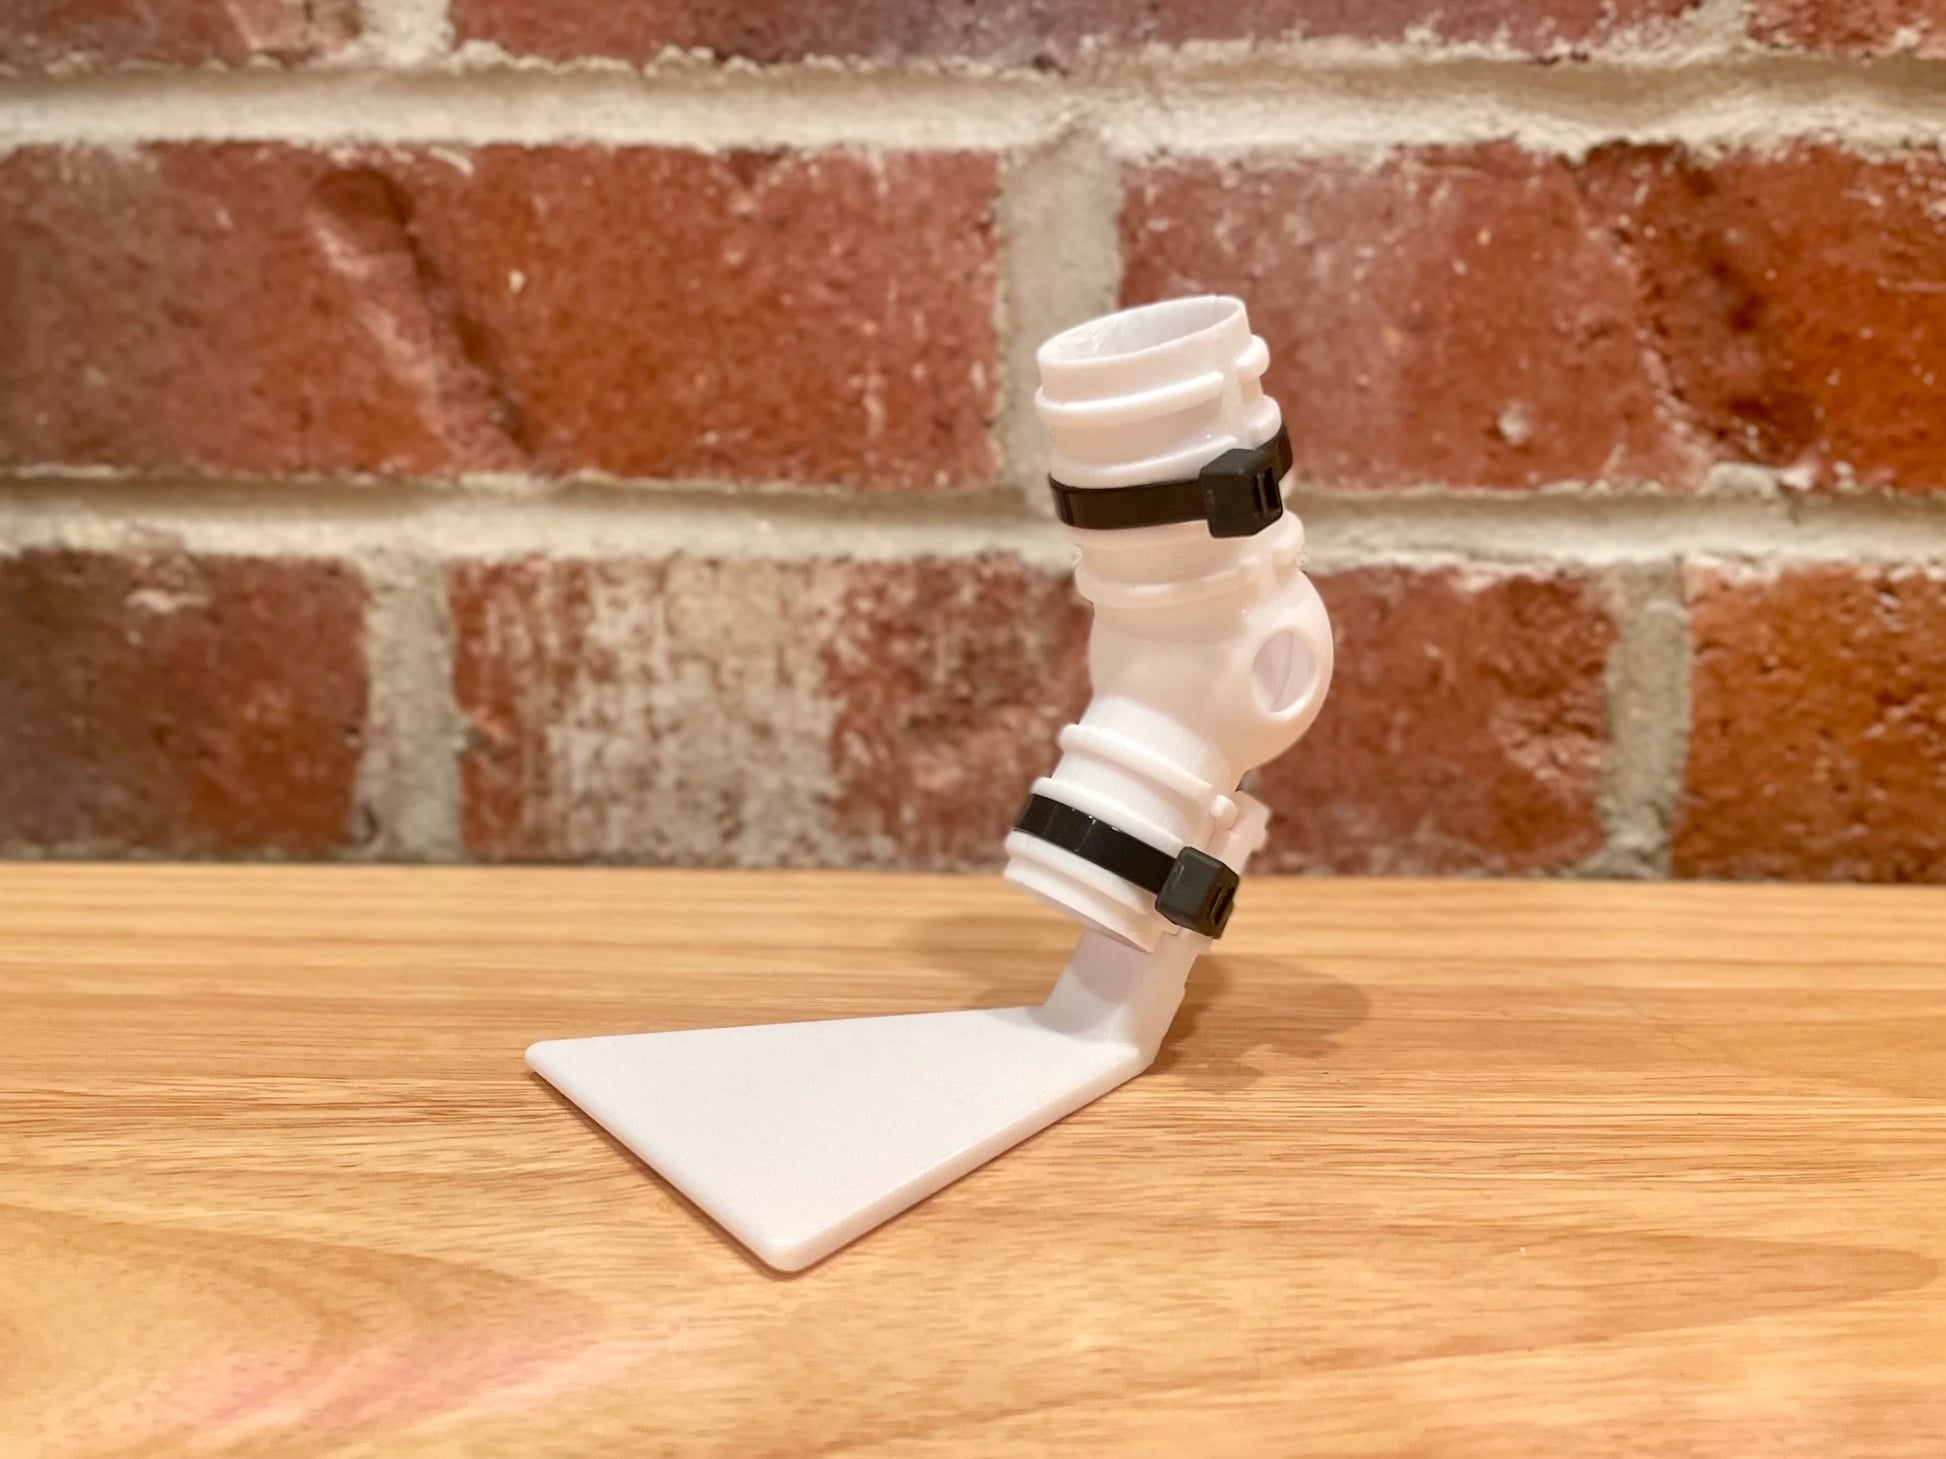
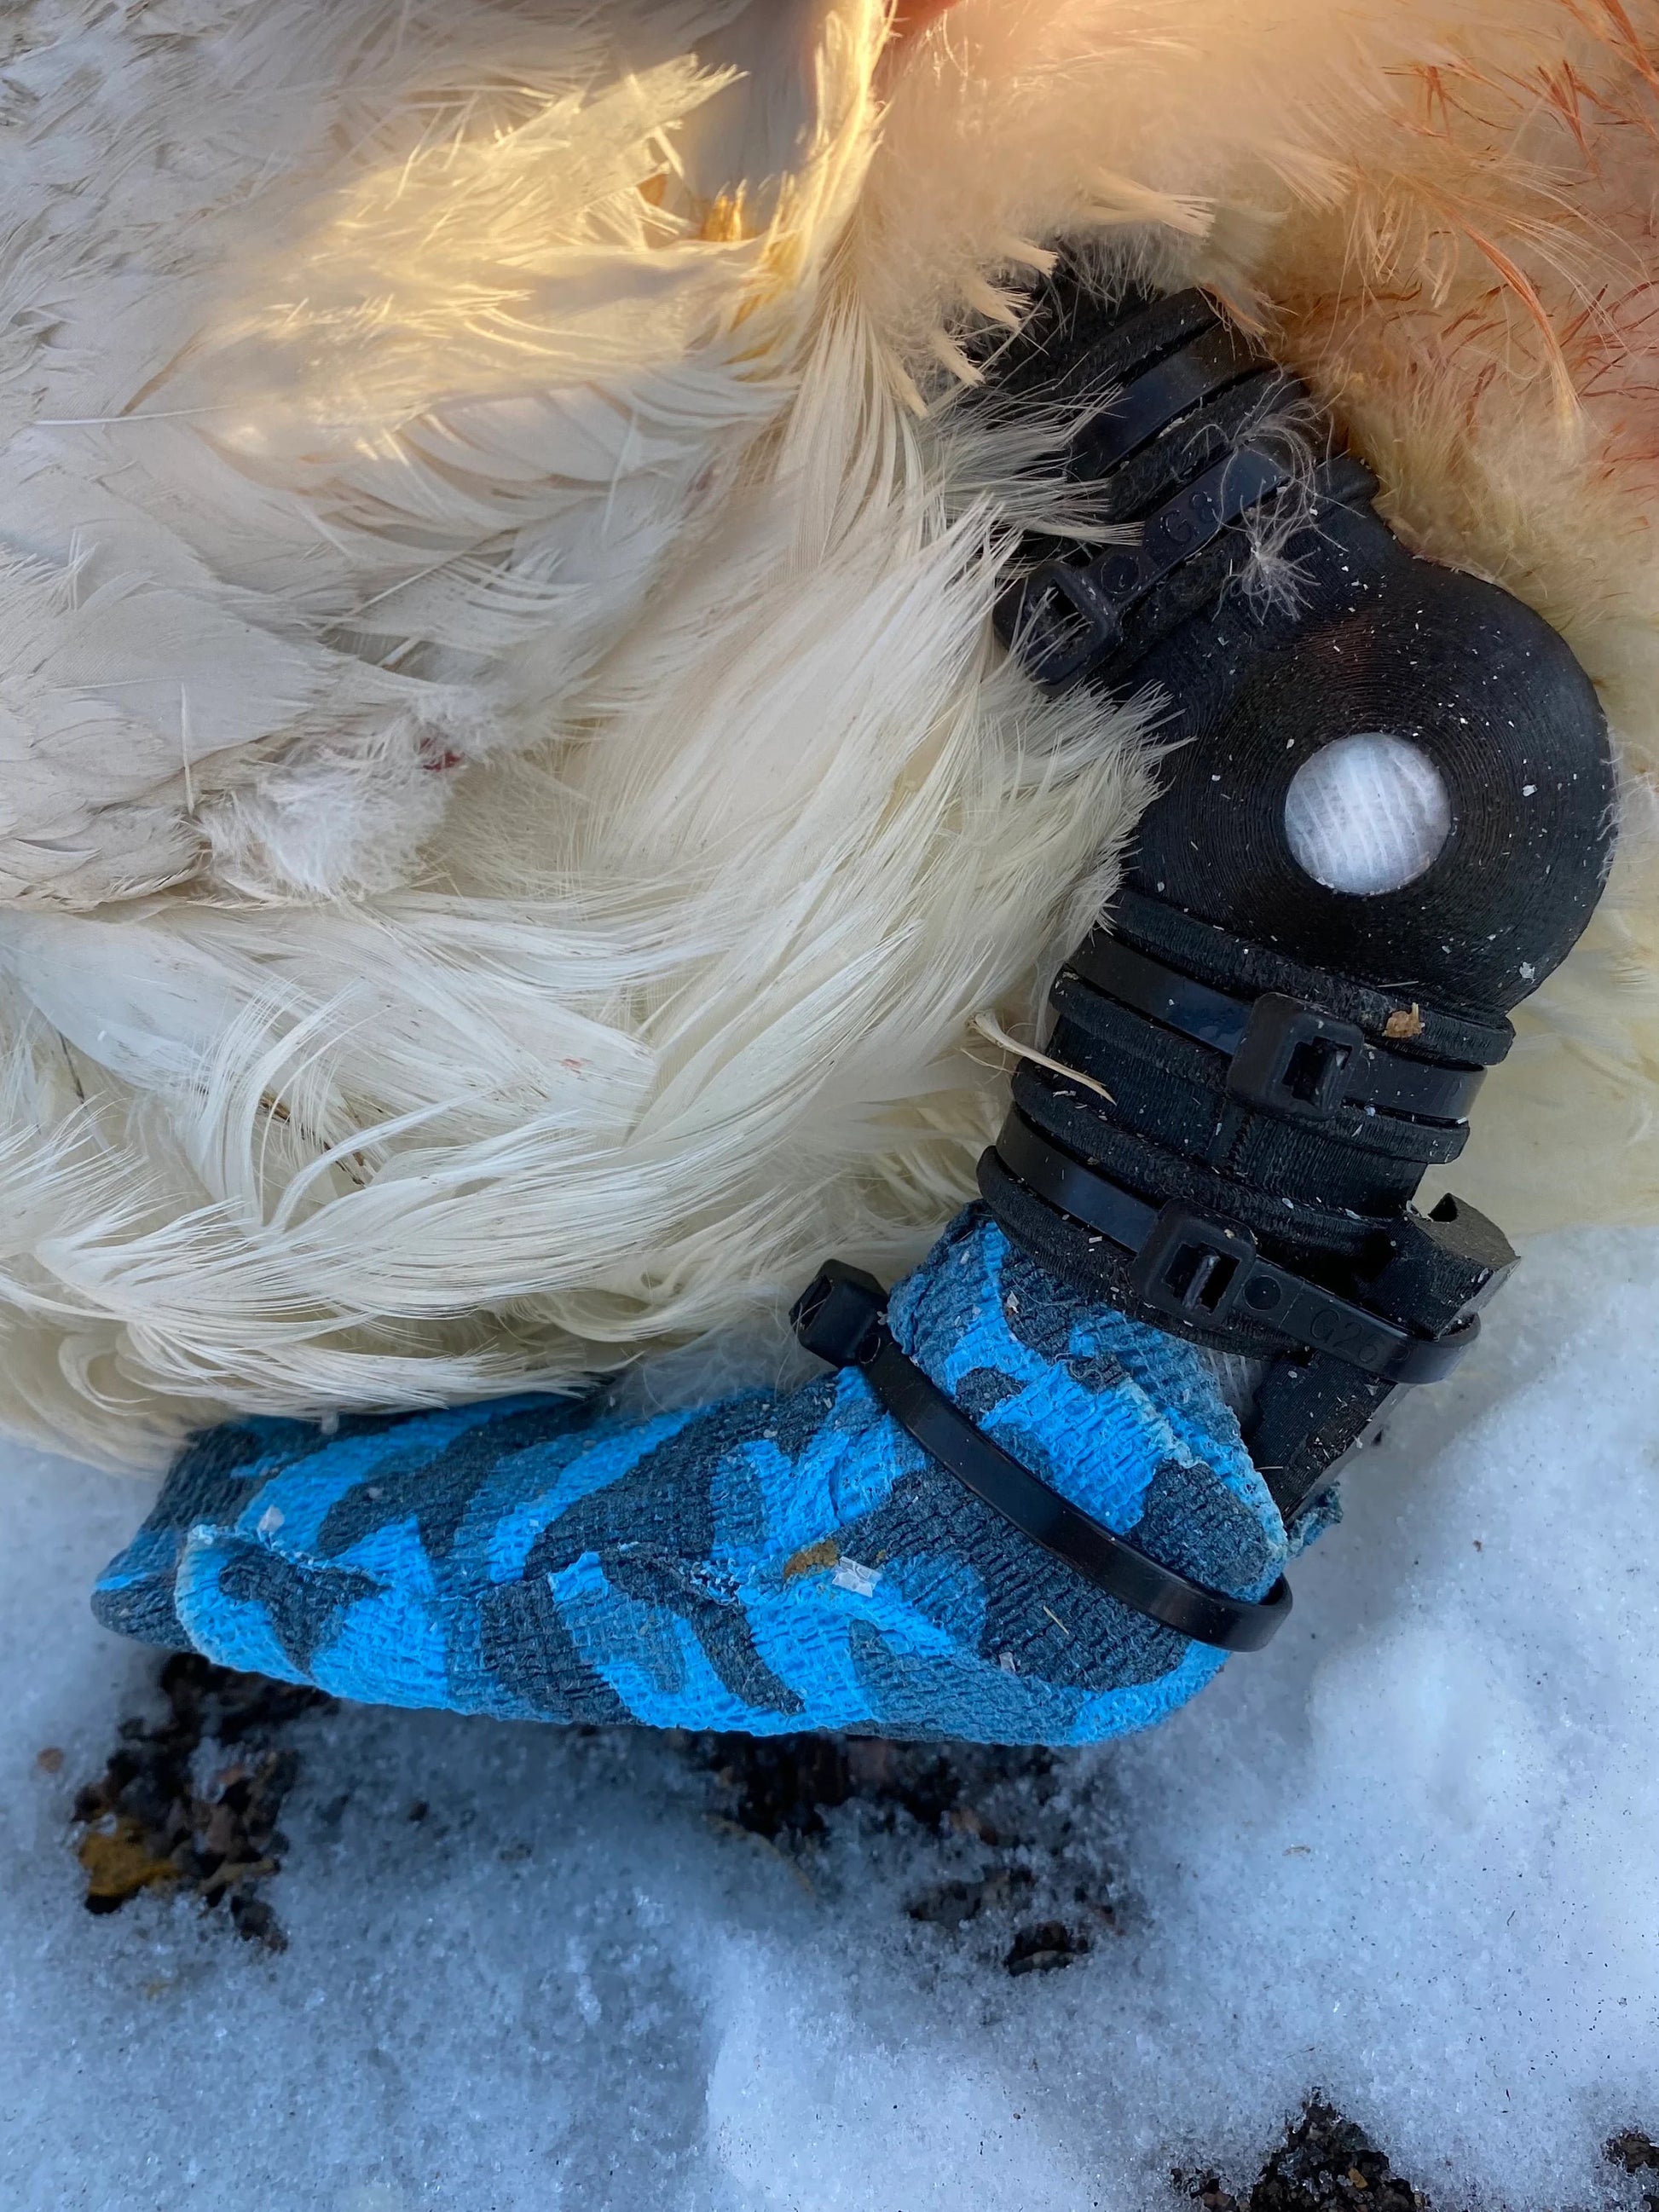
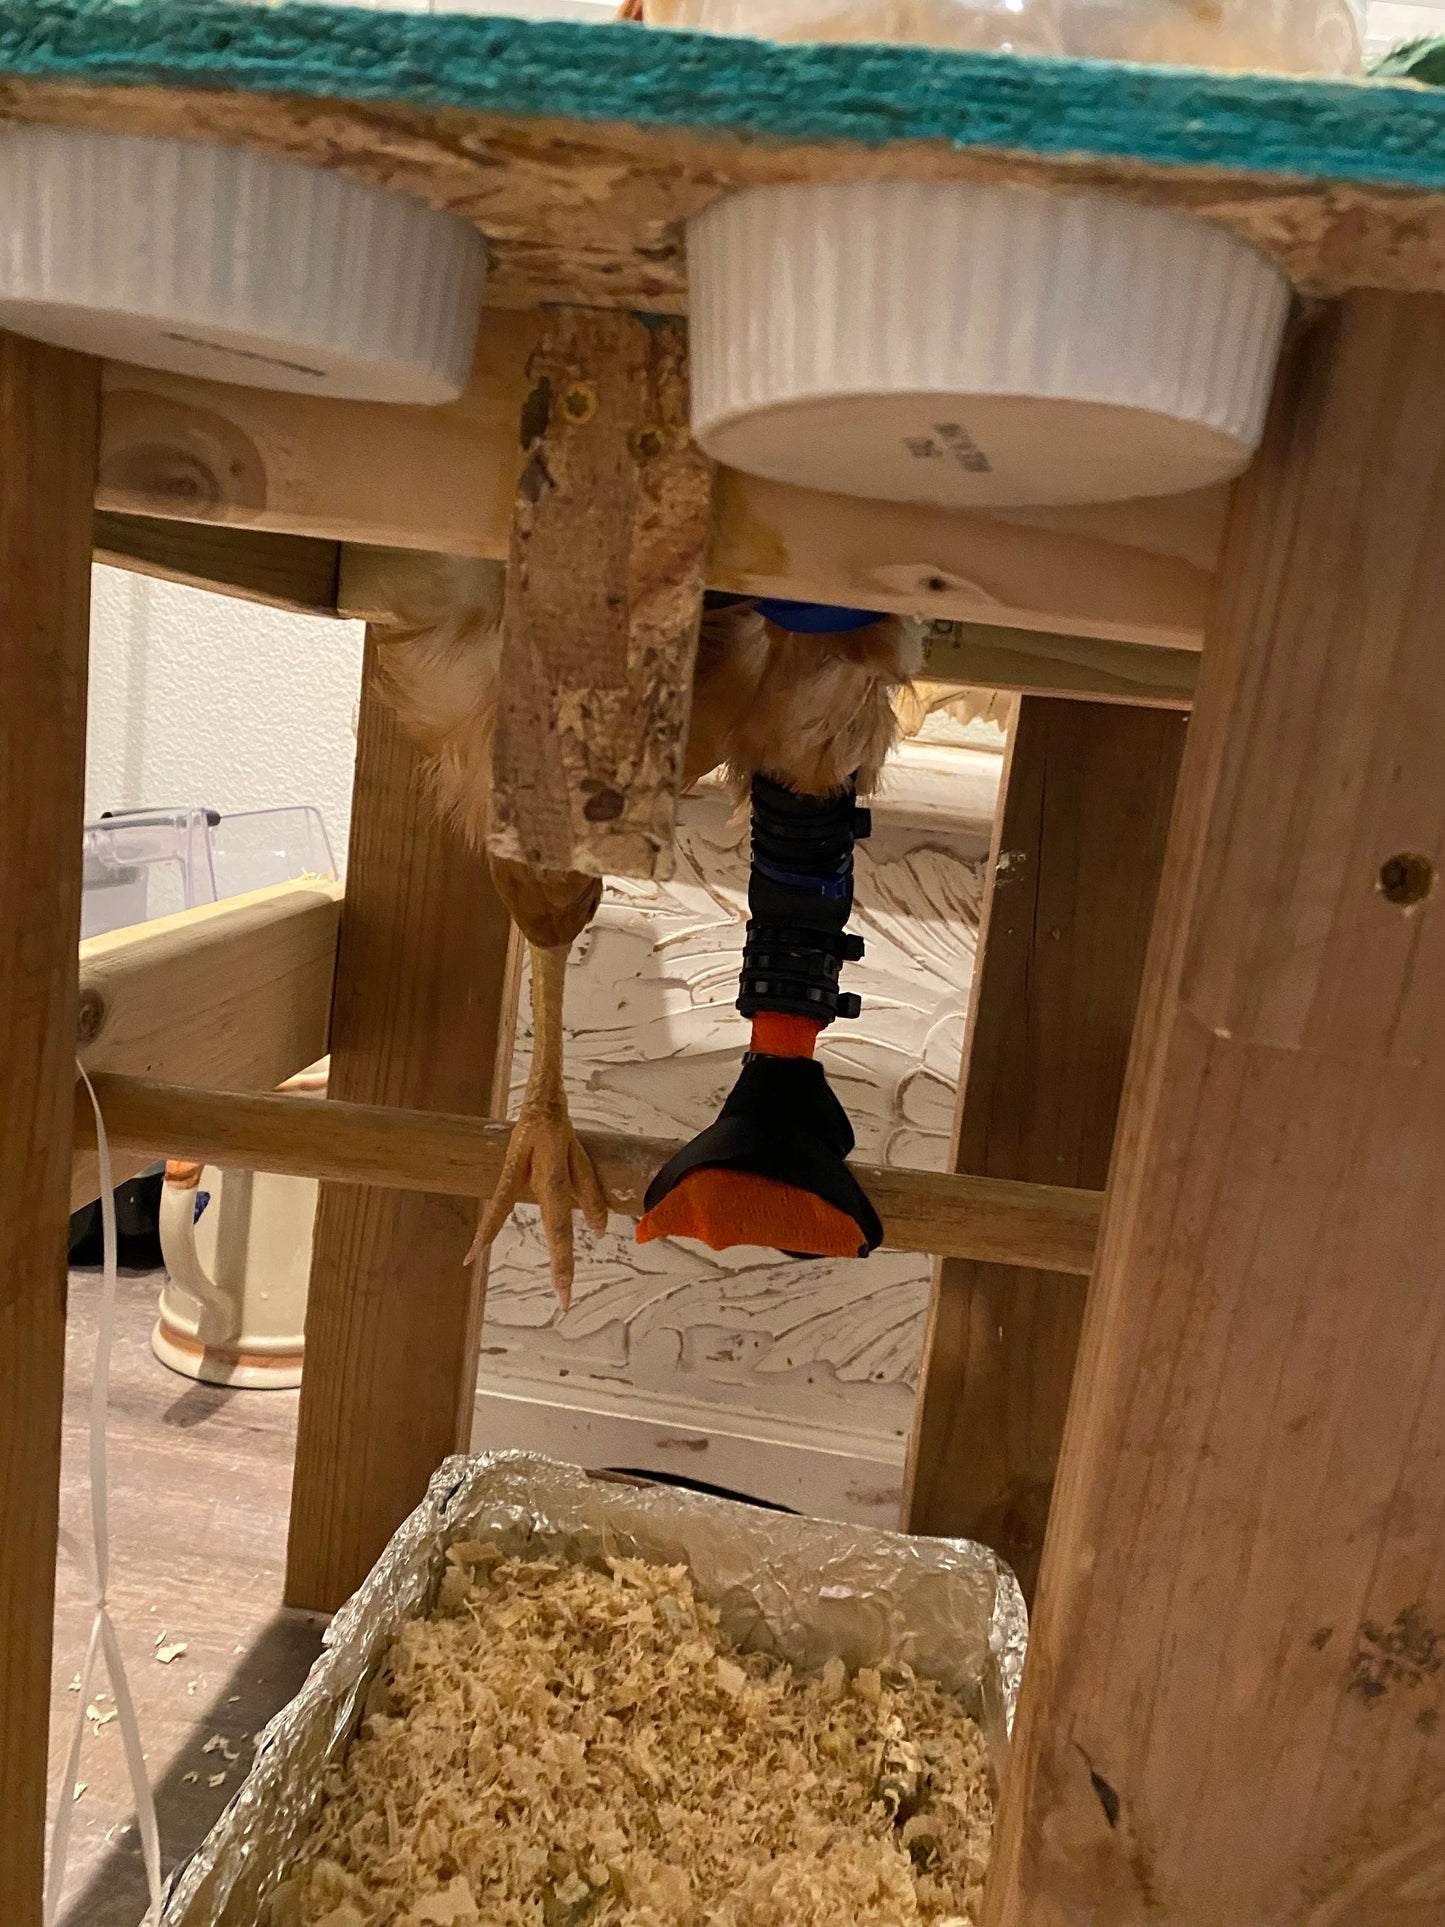
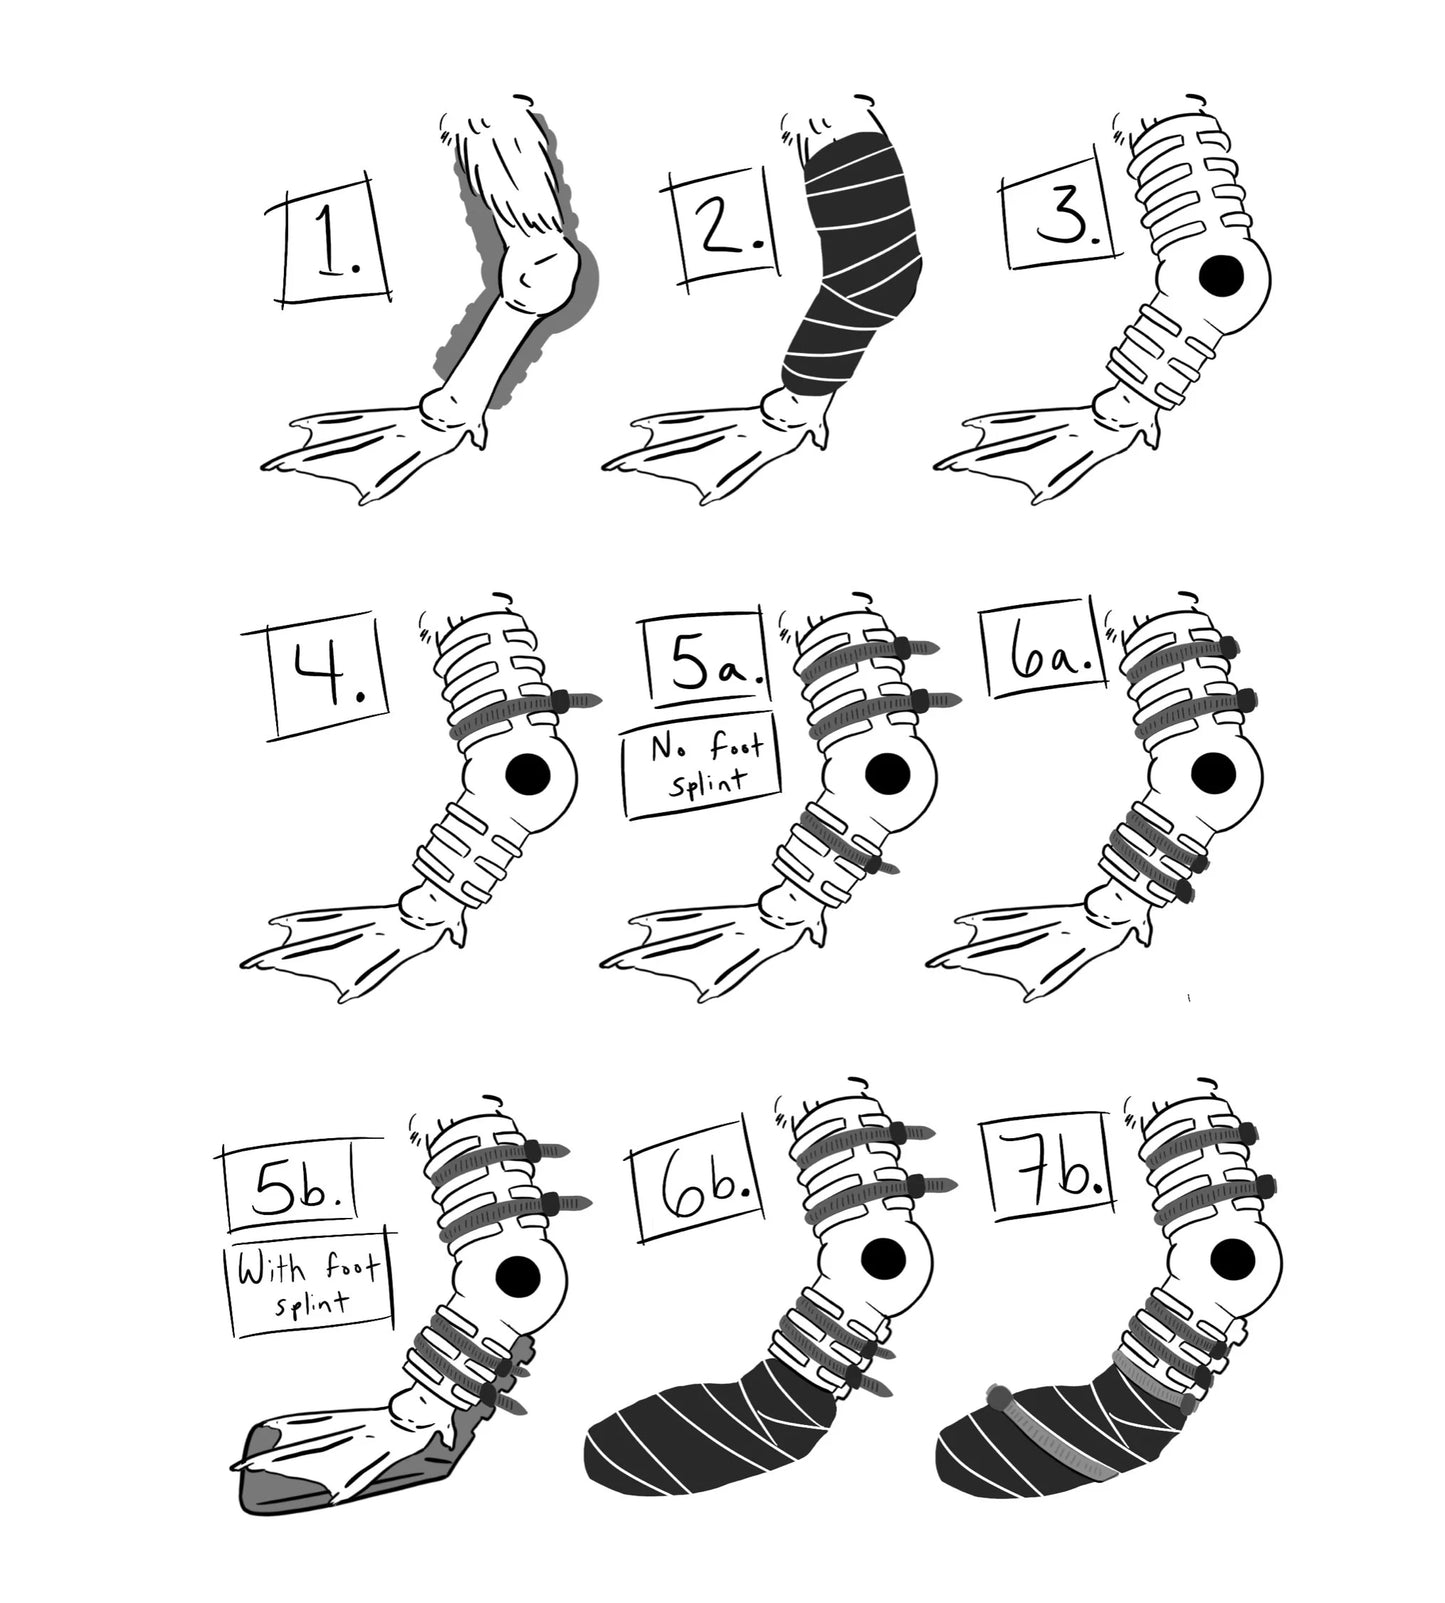
Full leg and foot splint combo. The foot splint fits into the grooves on the back of the leg splint and is further secured with zip-ties. This gives full leg coverage from just below the knee, all the way to the end of the foot. There is also a groove on one side of the splint to make it easier to remove the zip ties when changing dressings.
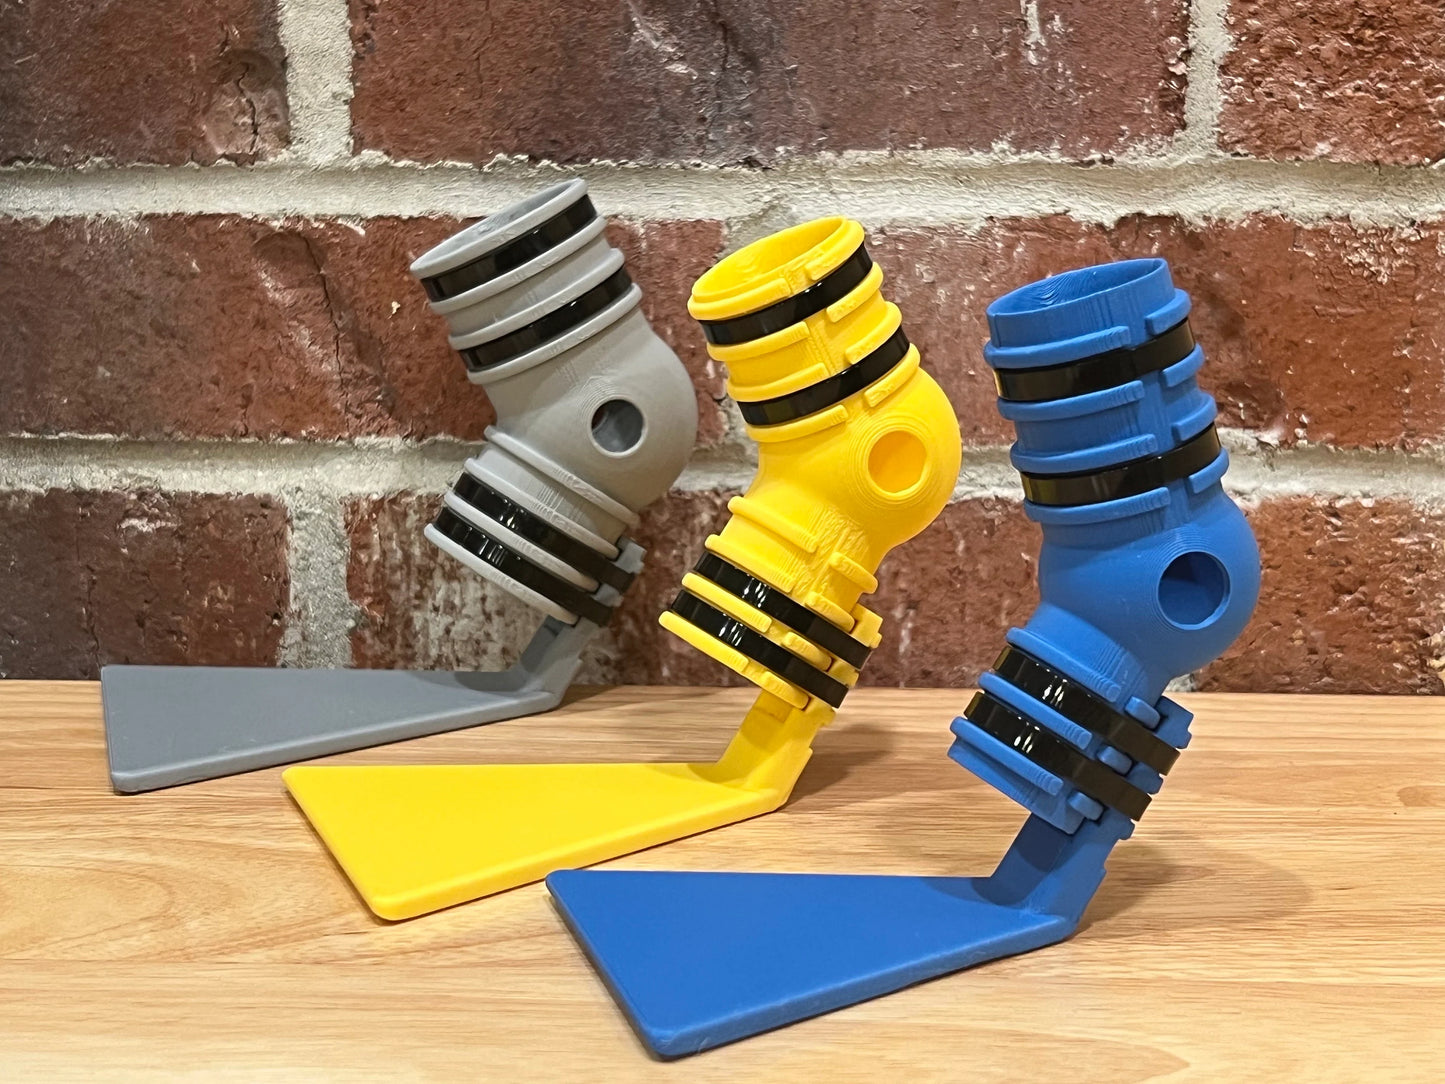
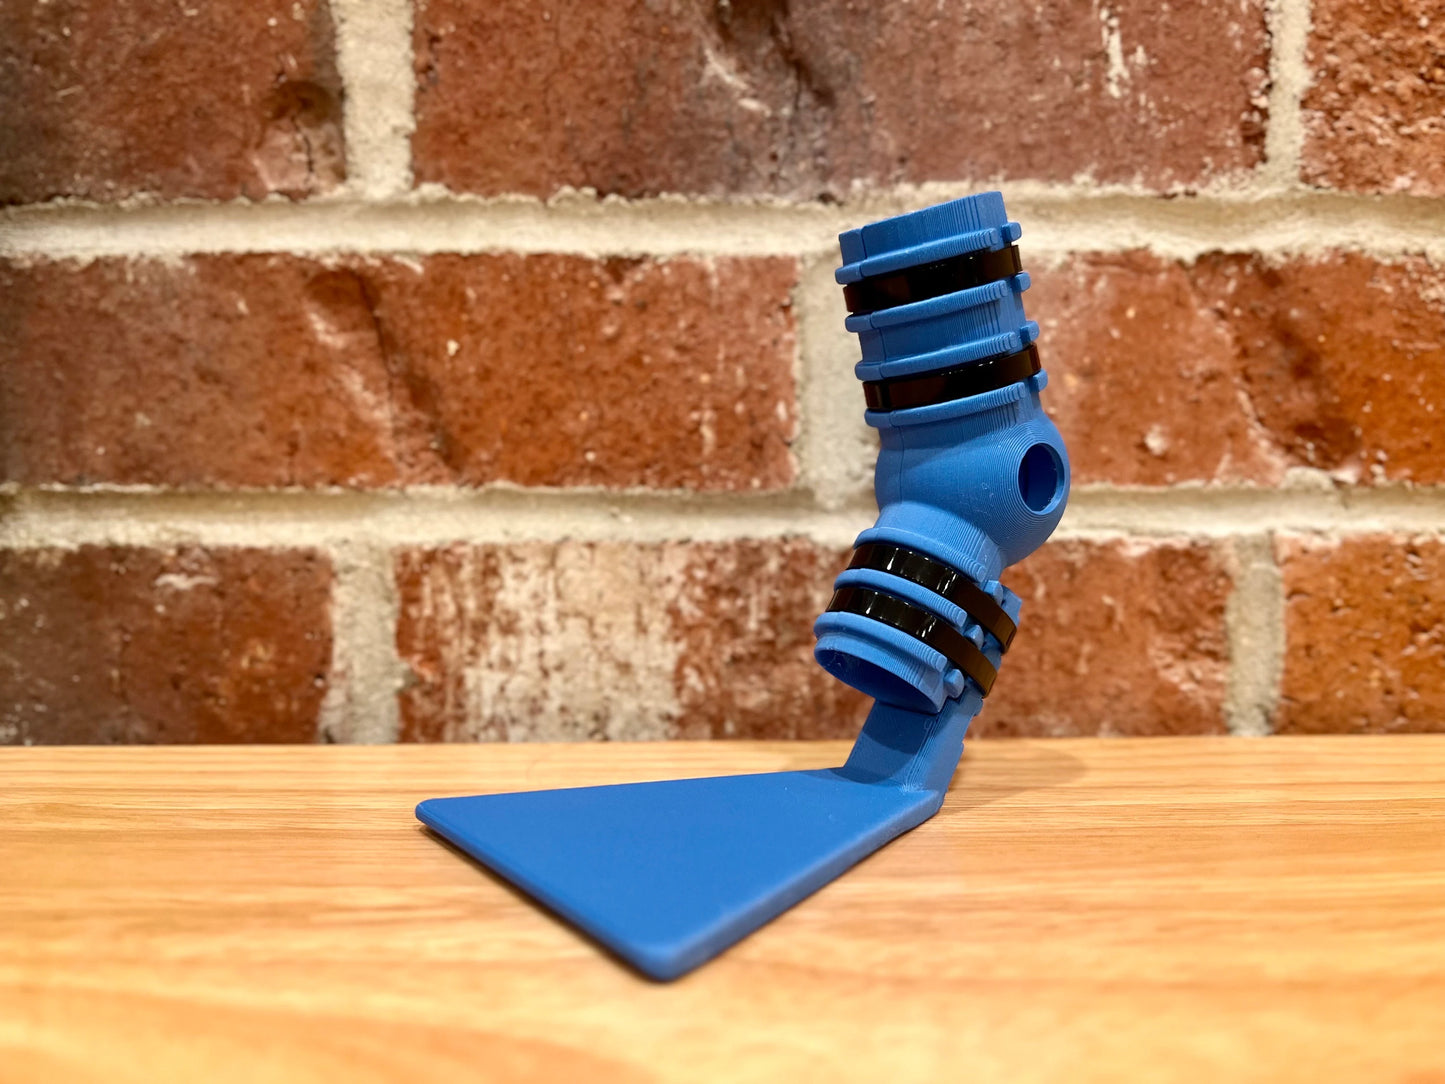
3D printed, easy to use, durable. Made with high quality PLA.
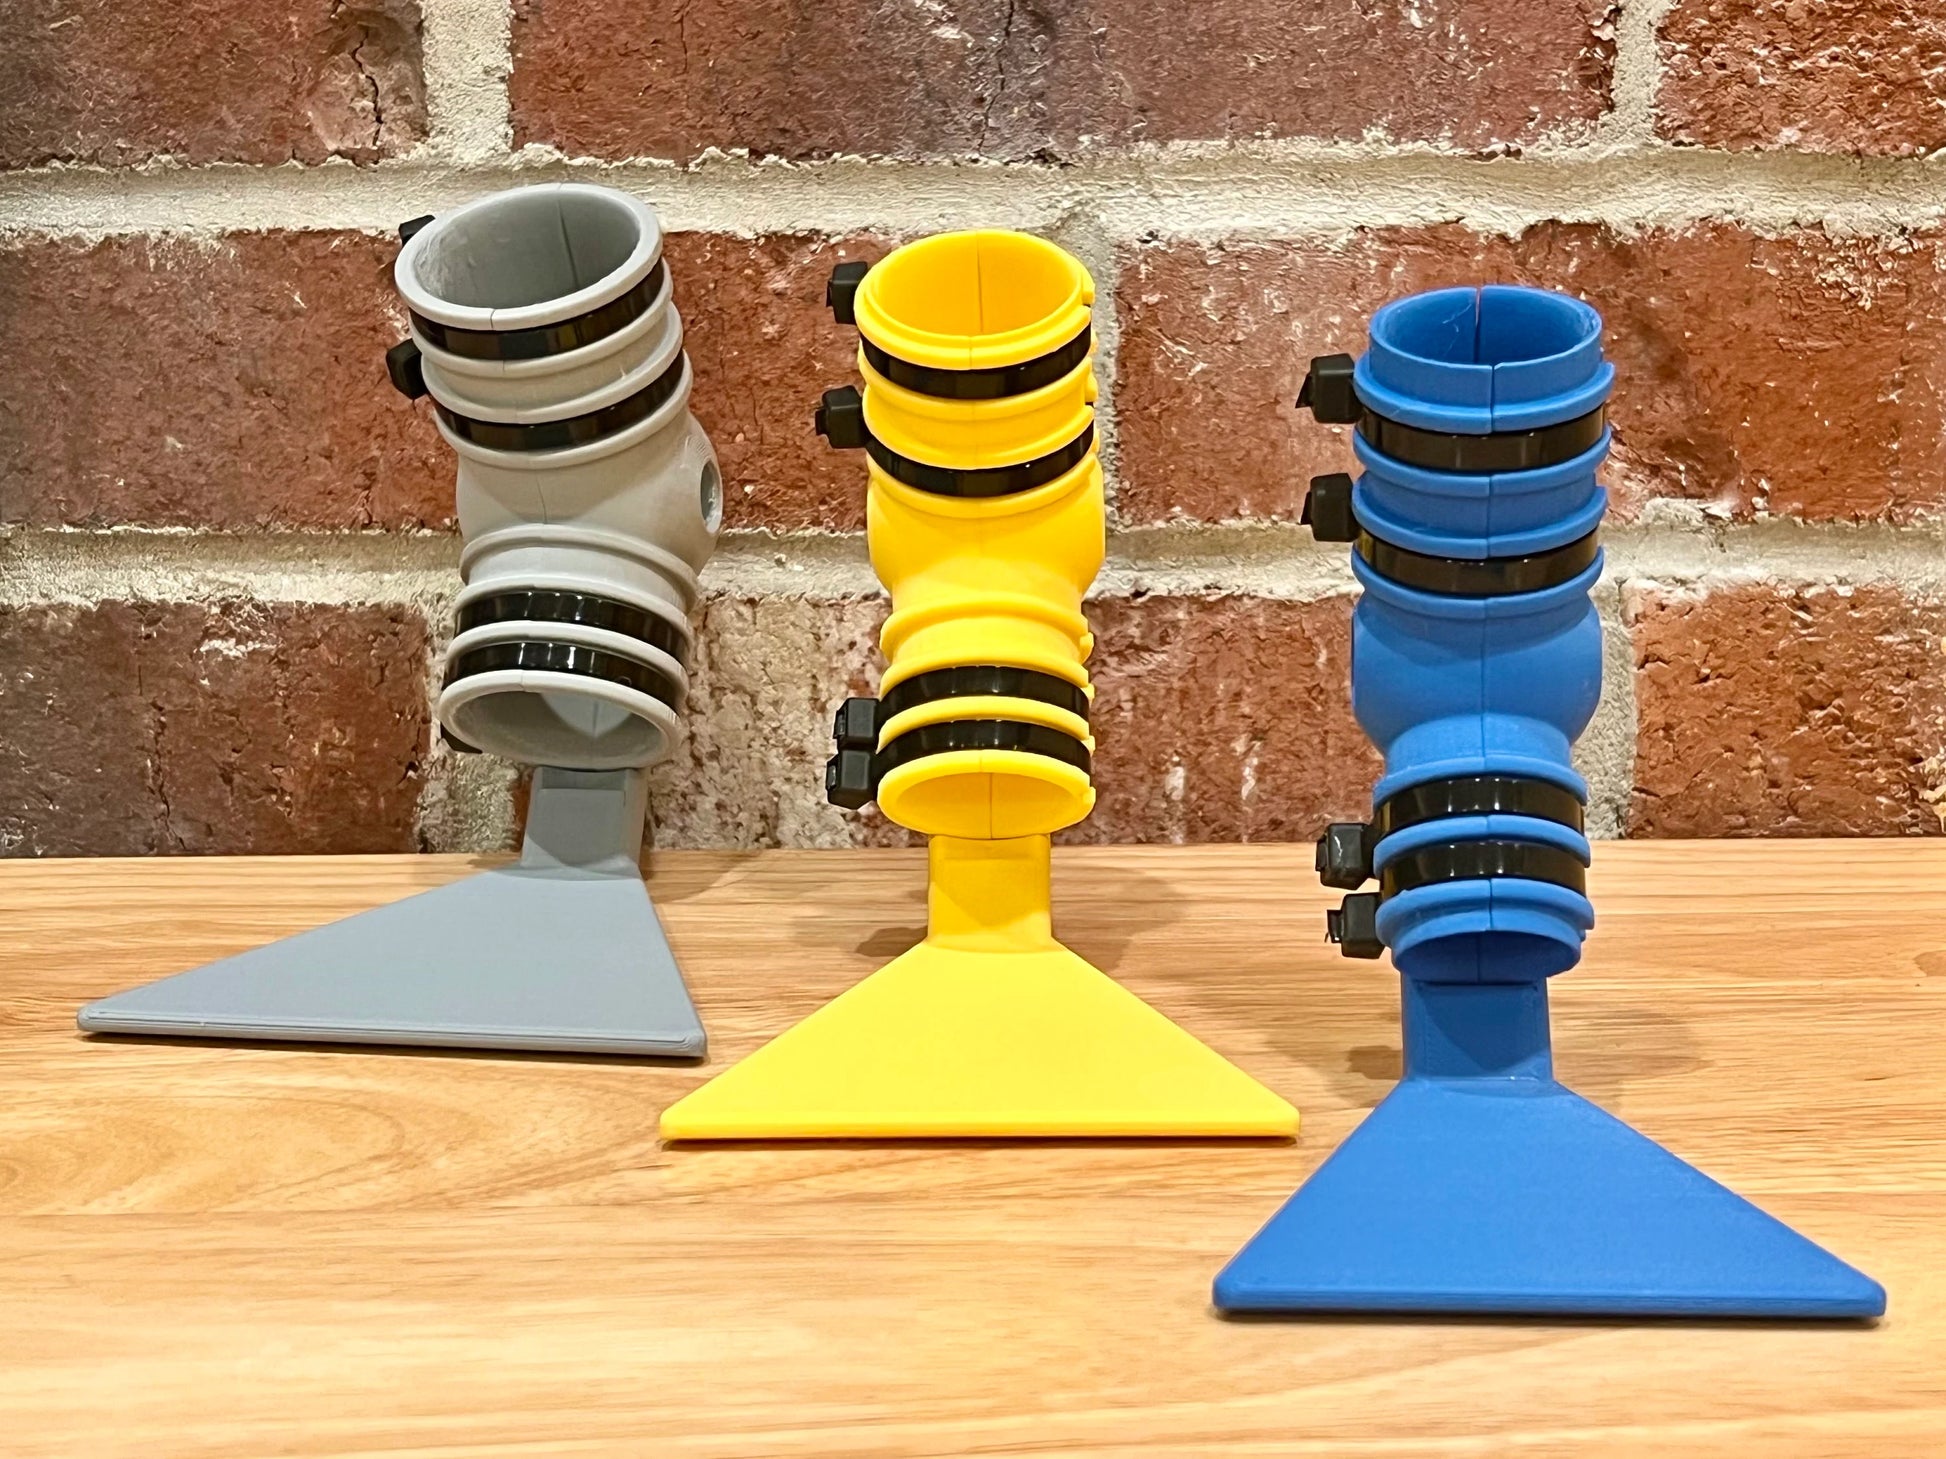
*If you are buying a full set, the set is priced as buy one, get one 50% off. Choose “single” or “pair” as the set option, and the pricing is automatically applied to a pair. We also offer a mixed-pack (with similar discounting) if you are not sure on the sizing and want to buy both - only available if you select "pair".
Sizing (measured by diameter):
X-Small (typically fits Bantam chickens or pullets):
- Top opening: 20mm
- Ankle ball: 25mm
- Bottom opening: 16mm
- Foot Width - 62mm
- Foot Length - 62mm
Small (typically fits standard size chickens and runner/light weight ducks):
- Top opening: 28mm
- Ankle ball: 34mm
- Bottom opening: 20mm
- Foot Width - 80mm
- Foot Length - 80mm
Medium (typically fits pekins, muscovies, other large ducks, and chickens with severe swelling):
- Top opening: 33mm
- Ankle ball: 38mm
- Bottom opening: 29mm
- Foot Width - 90mm
- Foot Length - 90mm
Large (typically for Pekin ducks with swollen hocks, other special cases of severe swelling or where extra padding is needed)
- Top opening: 35mm
- Ankle ball: 40mm
- Bottom opening: 31mm
- Foot Width - 92mm
- Foot Length - 92mm
Apply as much padding around the leg as you can before setting the splint. Keep padding dry. For fractures, it is recommended to leave the splint on for 6 weeks. Remove the splint, clean, and assess the area at least once a week. For younger birds who are still growing, remove and check sizing every 3 days.
Intended for use with standard zip ties. Use small wire cutters for zip tie removal along grooved side.
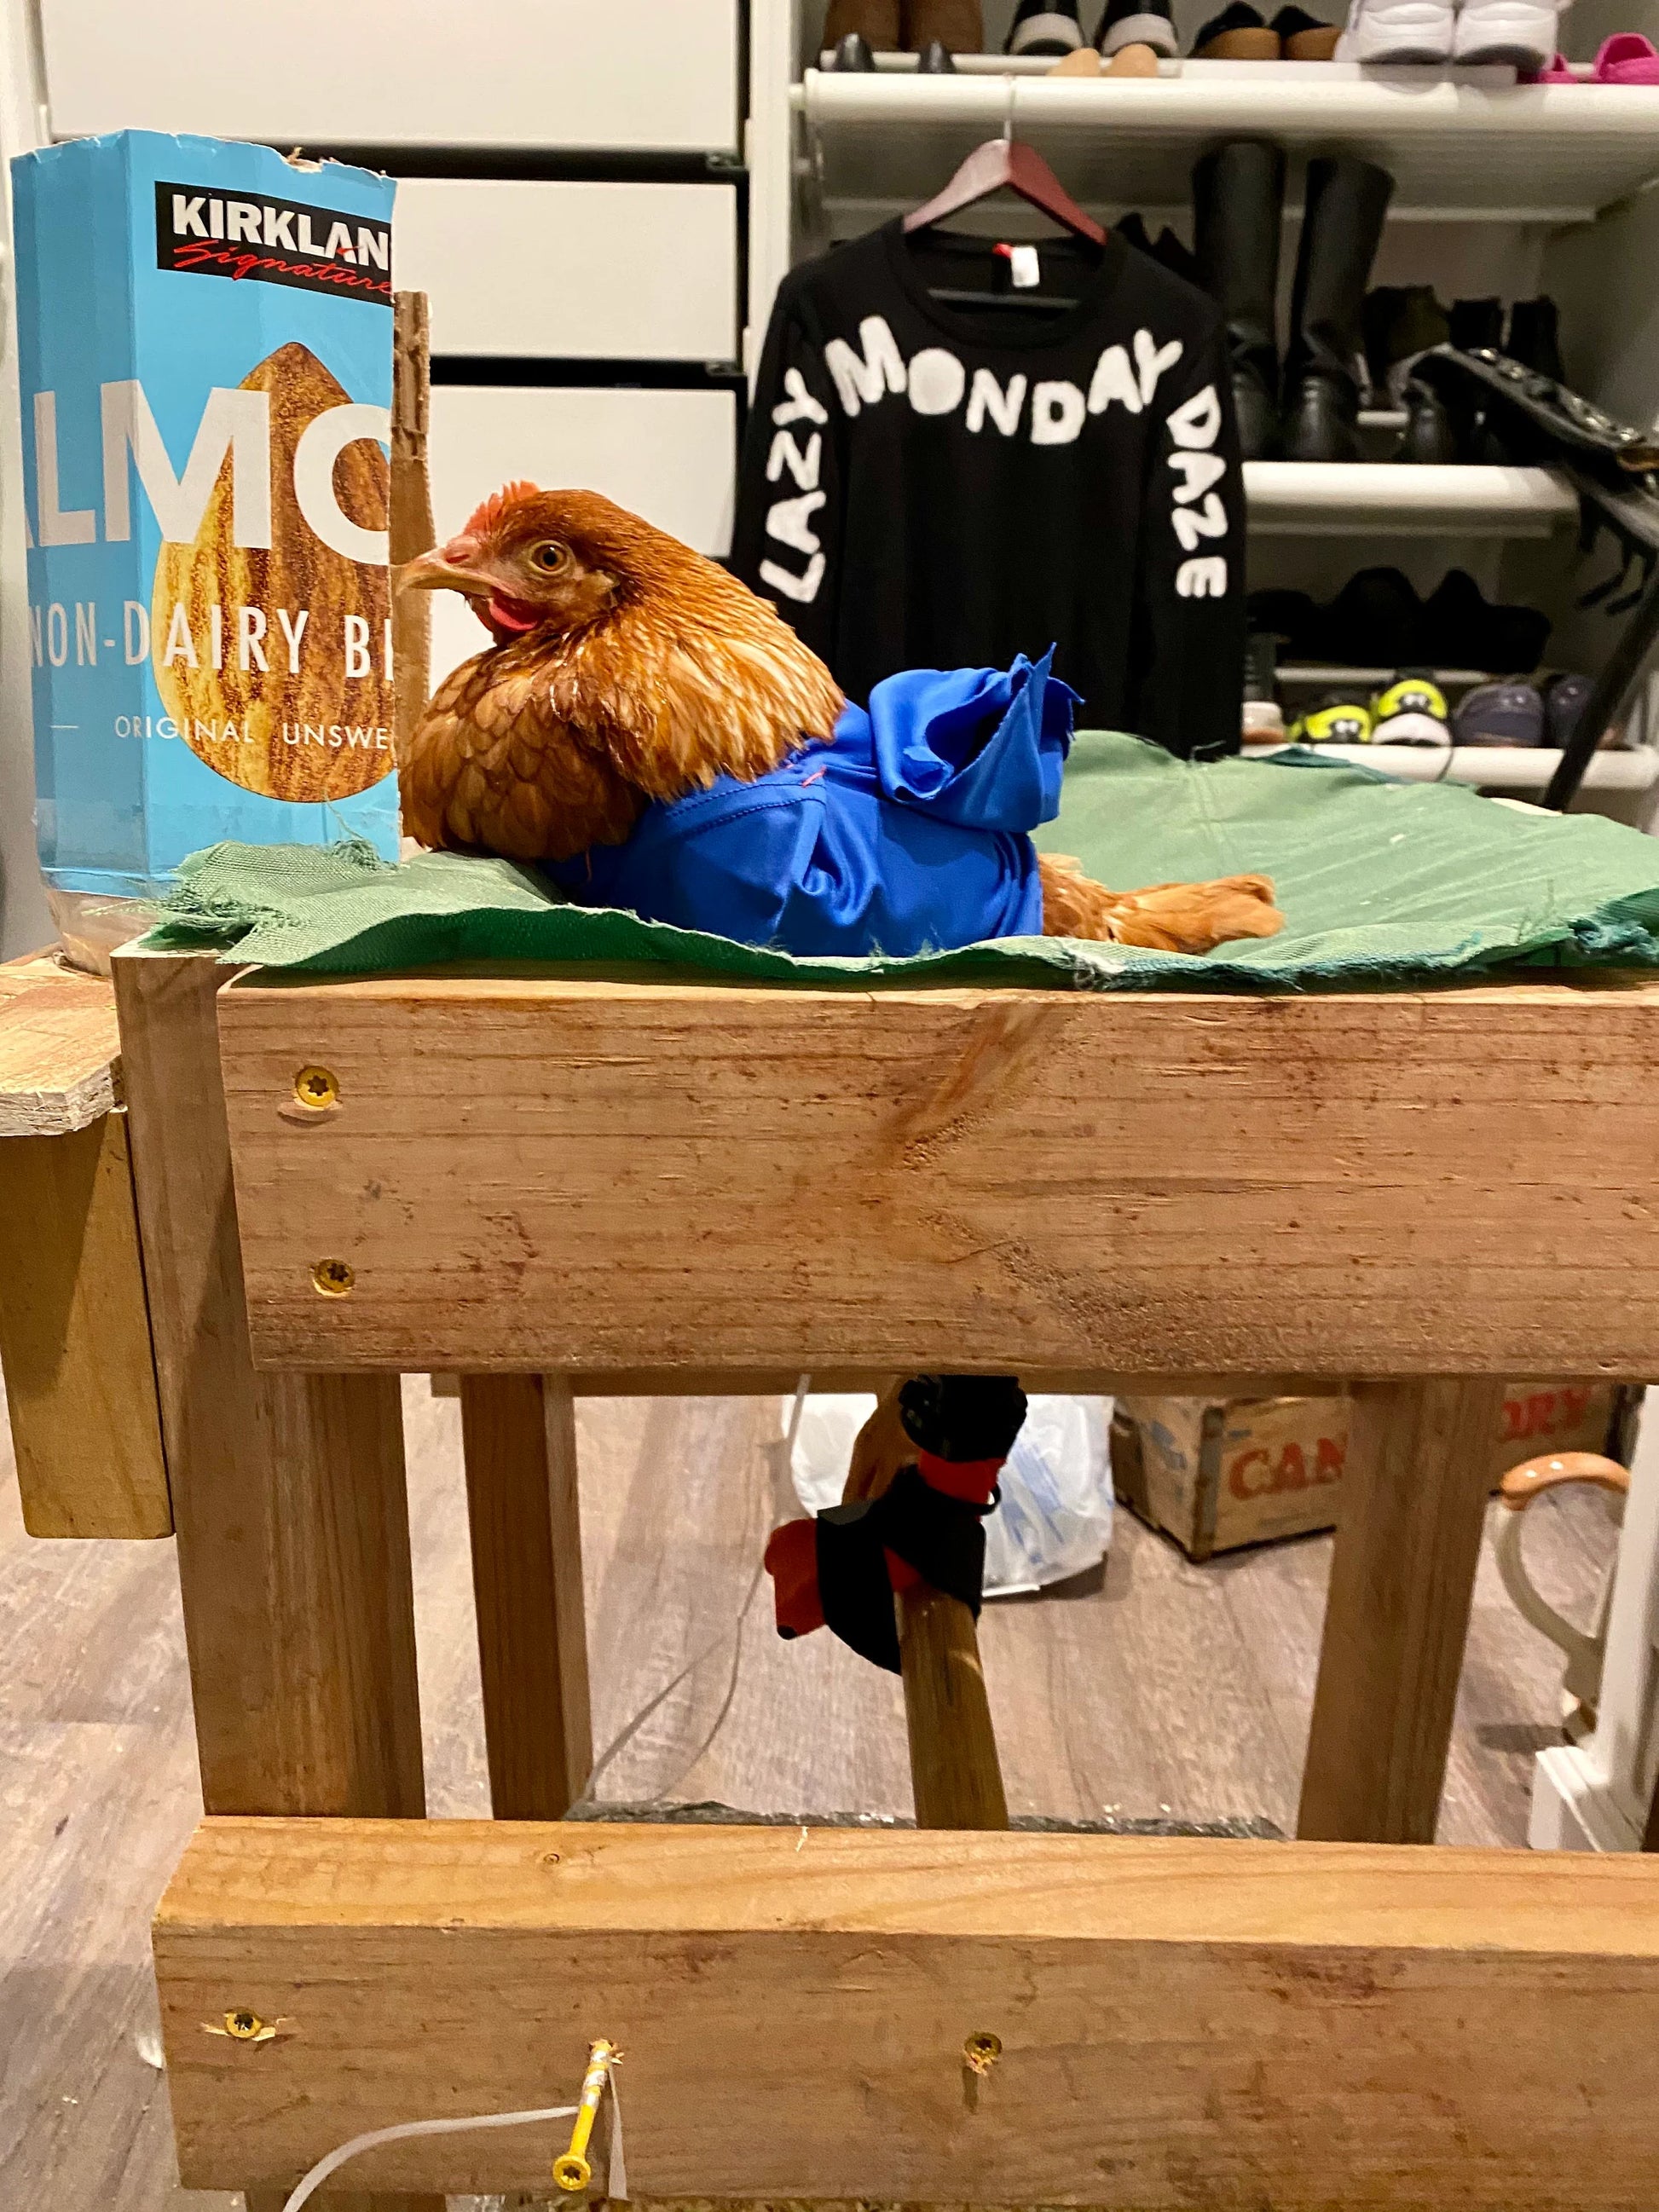
PLEASE NOTE - while wearing this splint, please restrict your bird’s movement by keeping them in a confined area, or ideally, a suspended sling. Just like with humans, the goal is to keep the fractured bones stable as they heal. This splint does not allow for natural movement of the ankle, so they will not be able to perch or lay down in their usual position. This is why keeping them in a suspended sling is ideal.


Measurement Guide
What You’ll Need
- A soft, flexible measuring tape (like those used for sewing)
- A ruler (for double-checking)
- A notebook or phone to record measurements
- A towel (to gently restrain your bird)
- An assistant (optional, but helpful)
Anatomy of a Bird Leg: Key Parts to Measure
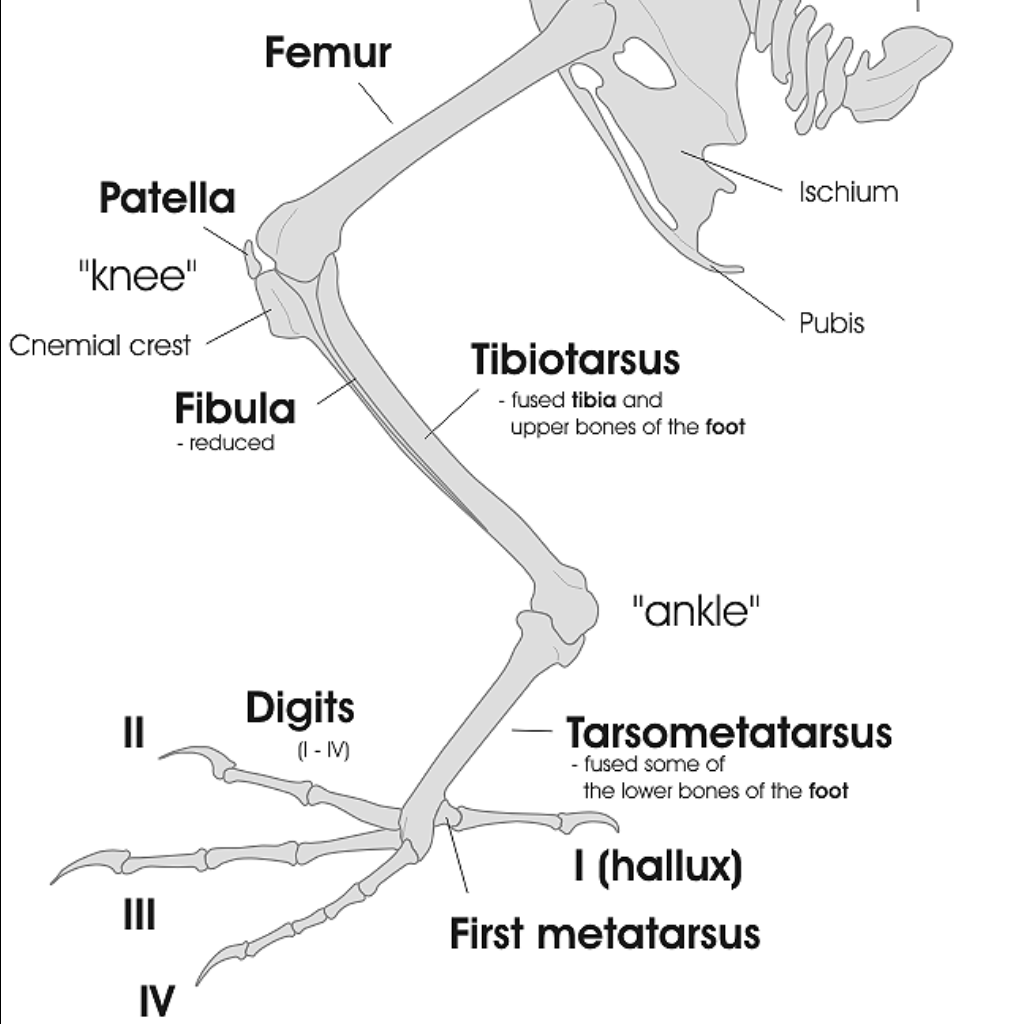
Before you start, it helps to know the main parts of a bird’s leg:
- Tibiotarsus: The long, slender section below the knee joint.
- Ankle: Also referred to as the "hock."
- Tarsometatarsus: The segment leading from the ankle/hock to the foot.
- Foot: Includes the toes.
Each section will have different diameters and lengths, so it’s important to measure them individually.
---
Step-by-Step Guide to Measuring a Bird Leg
1. Calm the Bird
- Wrap your bird gently in a towel, leaving one leg exposed. This helps keep them calm and prevents flapping.
- If possible, have an assistant hold the bird securely while you take measurements.
2. Measure the Tibiotarsus
- Length: Start at the knee joint and measure down to the ankle/hock joint. The tibiotarsus is the longest part of the leg.
- Diameter: Wrap the measuring tape around the middle of the tibiotarsus to get the circumference.
3. Measure the Ankle/Hock Joint
- Diameter: Gently pull on the bird's leg so that the ankle joint is in a relaxed position. Wrap the measuring tape around the middle of the ankle to get the circumference.
4. Measure the Tarsometatarsus
- Length: Measure from the ankle/hock joint down to the base of the foot.
- Diameter: Wrap the measuring tape around the middle of the tarsometatarsus for the circumference.
5. Measure the Foot
- Length: Start at the base of the foot (where it connects to the tarsometatarsus) and measure to the tip of the longest (middle) toe.
6. Double Check Your Measurements
- Double check each length and circumference to ensure accuracy.
- Use an online circumference-to-diameter converter to convert your circumference measurements from to diameter.
---
Tips for Accurate Measurements
- Work quickly but gently: Unless you have a docile house chicken, most birds don’t like being held for long. Have your tools ready and work efficiently to minimize stress.
- Measure both legs: Even if only one leg is injured, measure both for comparison. This helps ensure your splint or prosthetic is symmetrical and functional.
- Use soft tape: A flexible measuring tape is easier to wrap around the leg and won’t dig into the bird’s skin. If you don't have any on hand, use a piece of string instead. You can wrap the string around your bird's leg, mark where the string overlaps, and then lay the string back out over a ruler to get your measurement.
- Leave room for bandaging: When going to purchase a splint or prosthetic, remember that you want to leave wiggle room for padding and bandaging.
Why Accurate Measurements Matter
Properly fitted splints and prosthetics can make all the difference in your bird’s recovery and mobility. If they’re too loose, they won’t provide enough support. If they’re too tight, they can cut off circulation or cause discomfort. Taking the time to measure carefully ensures the best possible outcome for your feathered friend.
(Bird leg anatomy guide illustrated by Darekk2 and licensed under Creative Commons Attribution)